Forum archiveWorkshop Manual
This is a read-only archive of the ST70.net forum (2009–2021). Posting, accounts and private messages are no longer available.

Work In Progress

Started by Blue · 16 replies · 7491 views

BlueModeratorPosts: 468
Joined: Jun 2011
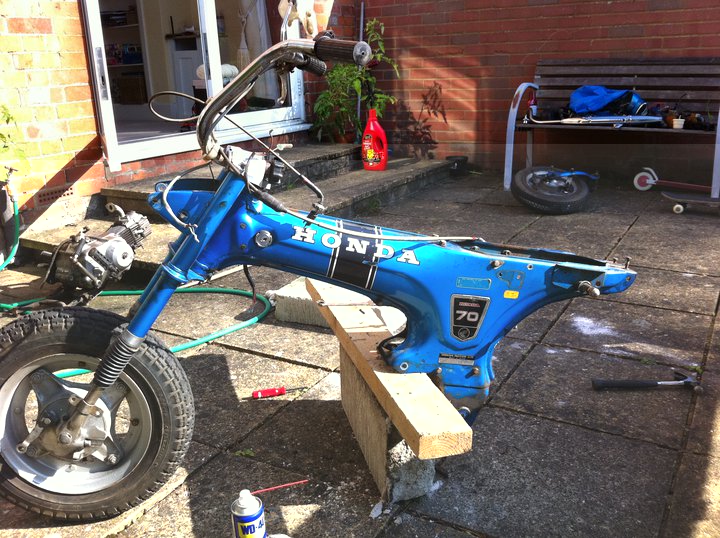
I set out to change the exhaust and got carried away

Attachments

tear_apart.jpg
leeandalyStandard MemberPosts: 185
Joined: Nov 2009
Re: Work In Progress
You dont have to strip the bike to take the exhaust off, :roll: ha ha ha :lol: lee
WaynusModeratorPosts: 1108
Joined: Feb 2009
Re: Work In Progress
:lol:
I love the colour! Everything seems to be in nice condition.
So have fun changing the exhaust!
BlueModeratorPosts: 468
Joined: Jun 2011
Re: Work In Progress
leeandaly wrote:You dont have to strip the bike to take the exhaust off, :roll: ha ha ha :lol: lee
Now you tell me :)
Waynus wrote::lol:
I love the colour! Everything seems to be in nice condition.
So have fun changing the exhaust!
I Love the Colour too, matches my trainers!

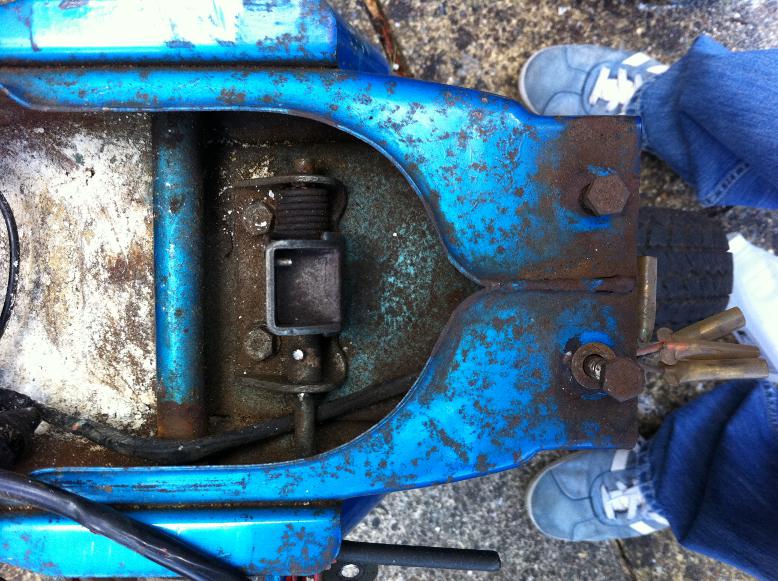
She looks worse close up, Im in a dilema about painting her, do I leave it or fix it now before it gets too bad?
Has to be blue again, but can I get it powder coated in candy blue or will I ruin it?

Attachments

Rusty.JPG
WaynusModeratorPosts: 1108
Joined: Feb 2009
Re: Work In Progress
mmm... I love bikes which have a lovely platina to them, but maybe this is just a little too much...
You can get it re-sprayed in the correct colour (it wil never look 100% the same as 40 yo factory sprayed paint) but the Honda Candy's are pretty expensive.
Make sure you get the correct colour and parts (stickers, emblems) before starting to clean up the frame.
BlueModeratorPosts: 468
Joined: Jun 2011
Re: Work In Progress
I guess I wont be fitting the exhuast for a while :(
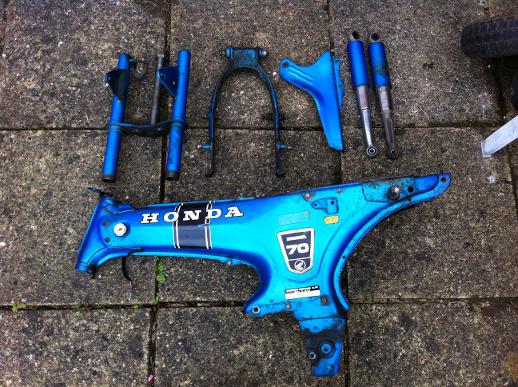
Anyone have any tips about taking the rear shocks apart?

Attachments

Bits.JPG
JamesModeratorPosts: 423
Joined: Feb 2009
Re: Work In Progress
Getting the rear shocks apart is extremely difficult and quite dangerous without the correct tool. I didn't have the correct tool and attempted it without and my brother-in-law nearly ended up with a shock sticking in him... they go off like a missile!

Anyway, in the end I made a tool (2 pieces of wood with holes in each, then using giant g-clamps to compress the wood enough so I could get a spanner on the top nut). I'm sure Waynus will be along soon with a picture of the correct tool (I can't find it). Good luck!
WaynusModeratorPosts: 1108
Joined: Feb 2009
Re: Work In Progress
A helpful link for dissambling the schocks an be found here.
You can use the common car tools as well.
Lou SnuttsStandard MemberPosts: 5
Joined: Aug 2011
Re: Work In Progress
Hi Blue, I've recently aquired a 'red' un - and stripped it to the same degree as yours - I'm arguing with myself about spraying it or leaving it (the paint is a little better than yours close up, but not much). I'd be interestd to know what you're quoted to do the job (if you don't mind), and if you can recommend anyone in particular. Off to make a shock splitting jig now!
Cheers.
Lou.
RobgvxStandard MemberPosts: 25
Joined: Jun 2011
Re: Work In Progress
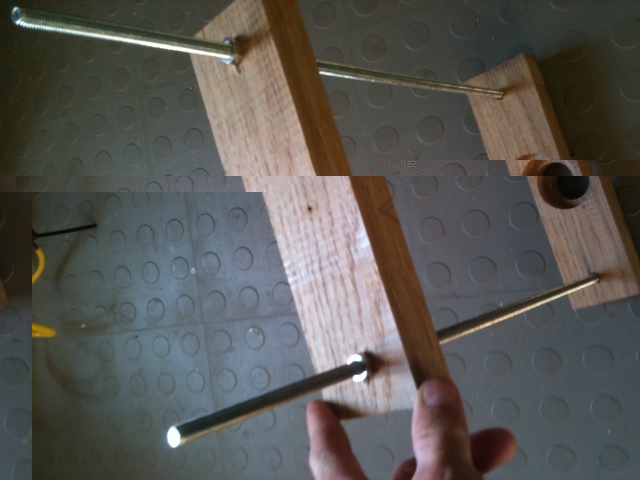
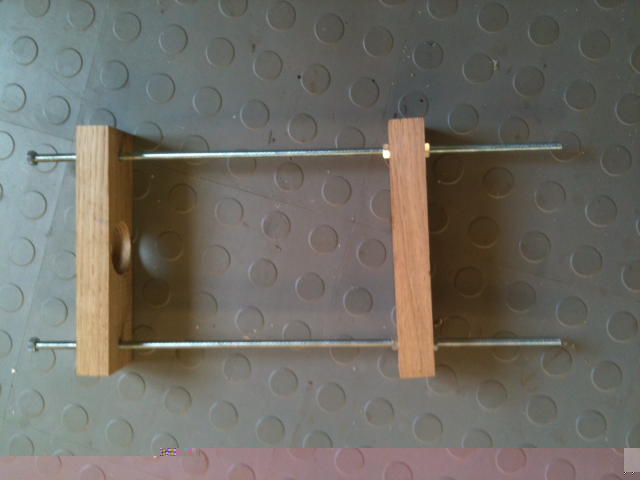
Here's my solution to the shock dis-assembly issue.

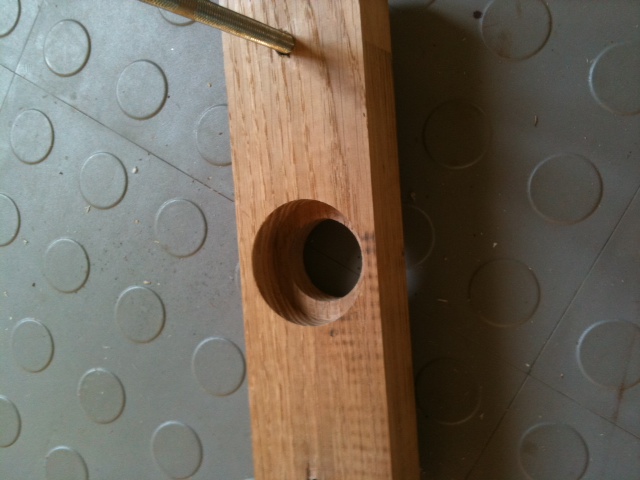
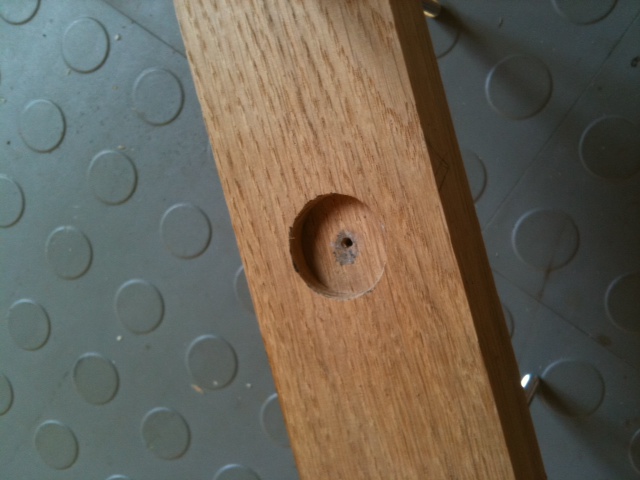
I made up a compressor tool using two pieces of wood and two lengths of threaded rod.

In the lower piece of wood make a counterbore (blind hole) that the lower shock eye will locate into.

In the top piece of wood make another counterbore that is just a bit larger than the outside diameter of the large painted shock tube. Then drill a through hole that is just large enough to allow the top shock eye to pass through.

In use, clamp the bottom piece of wood in a vice and set the bottom of the shock in the counterbore. The top piece of wood fits over the top shock eye and around the large painted tube. Tighten the nuts on the threaded rod evenly and it gradually pushes the large painted tube down. Keep pulling the top shock eye/shaft up by hand as you tighten as it tends to drop down as you compress the spring. When you have compressed the spring/large sleeve down enough you can access a lock nut that is tightened up against the underside of the top shock eye. With a spanner on this nut and a rod/screwdriver to hold the shock eye you can undo this lock nut and then unscrew the top eye from the shaft.

The chrome tubes are discontinued parts and I couldn't find any. I bought some other shocks off EvilBay but they were also scrap when they arrived. So, I couldn't actually restore my shocks in the end and ended up buying aftermarket shocks from Monkeybike UK. If your chrome tubes are half decent then get them professionally re-chromed. Expensive but it's the only way you'll save the standard shocks.f.JPGb.JPGc.JPGa.JPG

‹ Back to Pictures