Hi guys,
thanks for all your comments. Its nice to know that all that hard work is appreciated.
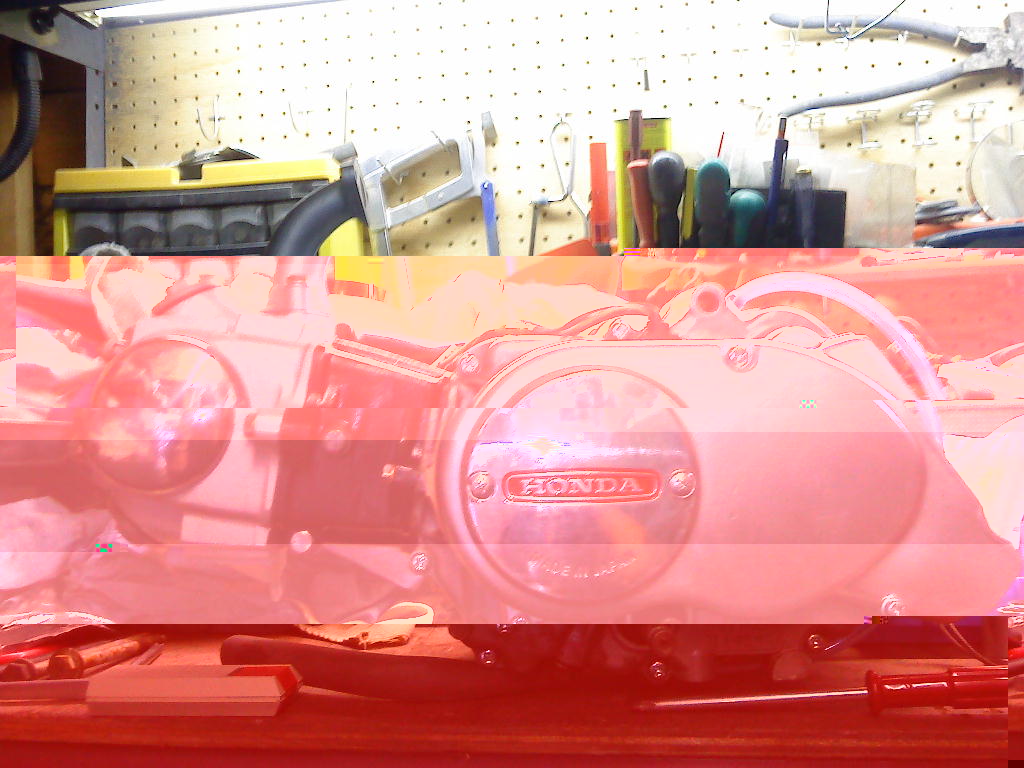
A little info on that engine it was a real total basket case except casings werent cracked luckily. The gaskets i removed were home made and when i stripped the oil pump the gaskets were degraded and looked like they were made of manilla envelope paper! They were not sealing the pump sides and so hence oil starvation and piston sieze! luckily the rockers and cam werent knackered but how they survived is anyones guess.
When i got it had rusty cylinder, bore Heavily scored (needed a 2nd oversize piston to remove the gouges in it!) oil/timing covers were heavily scraped and furry white! looked like someone had used a bloody steel wire brush on them!!! spent a few hours with various grades of wet and dry and then a dolly buff and that tick/fetish that all old bikers have of solvol autosol a sturdy thumb and a cloth to give it a shine like that. As for the casings i sand blasted em myself using kiln dried sand from "bums n queers diy" (B&Q) n a blaster nozzle i got from the halfords air tool section. My garden looks a bit like a sand pit but it will soon wash away into the lawn. lol.
Head is sprayed in silver VHT paint, Bore sprayed in Gloss HT cylinder black, left n right casings in aluminium paint in a tin, thinned to allow sprayability (brushed just wont do!)
The frame was a similar state pitted here n there and i had to re fabricate, in sheet steel, the horse shoe type bracing plate that fits below where the engine is bolted to the frame (made a template out of cardboard from a go cat box!) but other than that was relatively straight forward. Rare in most projects that.
Luckily for me i didnt pay for this engine! I would have flipped if i had! I got this in a box of other bits in a swapsie i did moons ago so fair doos n caveat emptor et al. This one is havin standard trim stickers. got most of them.
Any hows doing some overtime to get the dyecoat so watch this space..... Ade


 And as a taster here is the frame post sand blast and primed and now in base coat ready for dyecoat so watch this space, doing it all myself as i can get round to it!
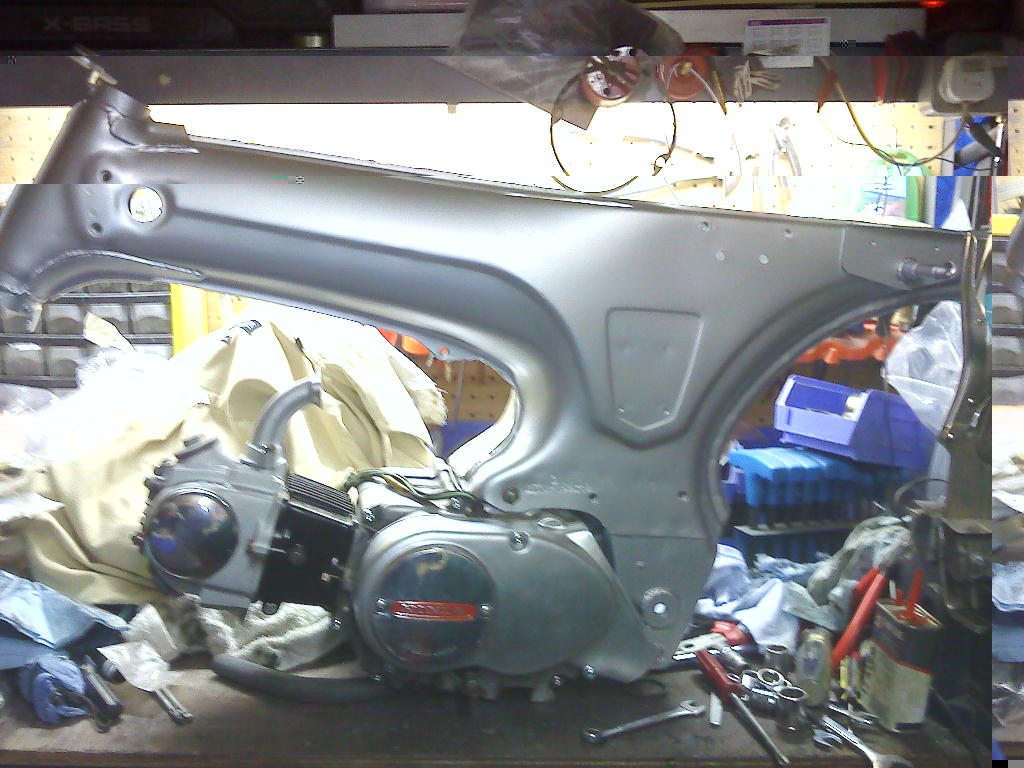 Put the two together on the bench just as a sneaky peek looks good that.

